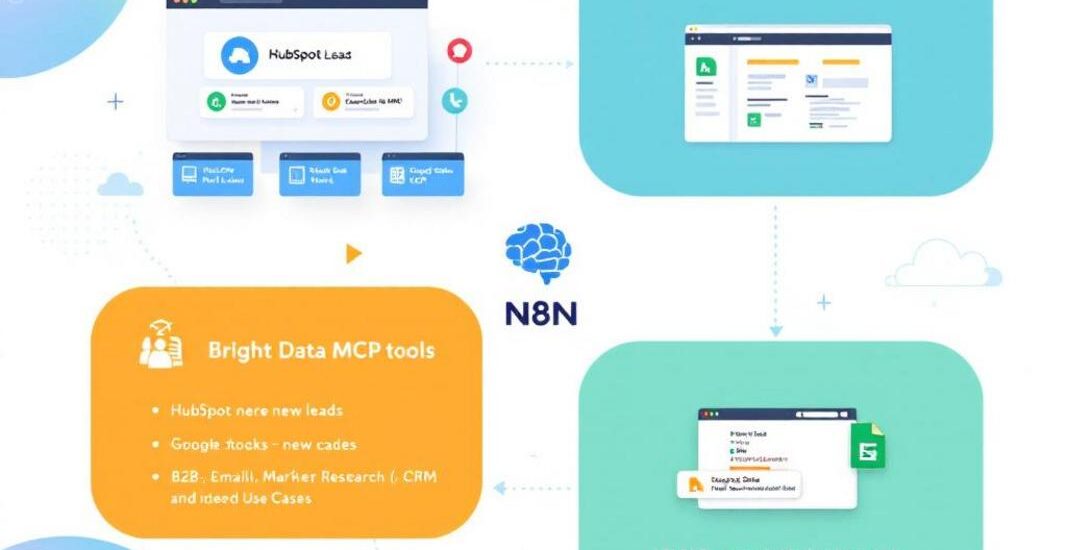
📌 HubSpot Lead Enrichment with Bright Data MCP
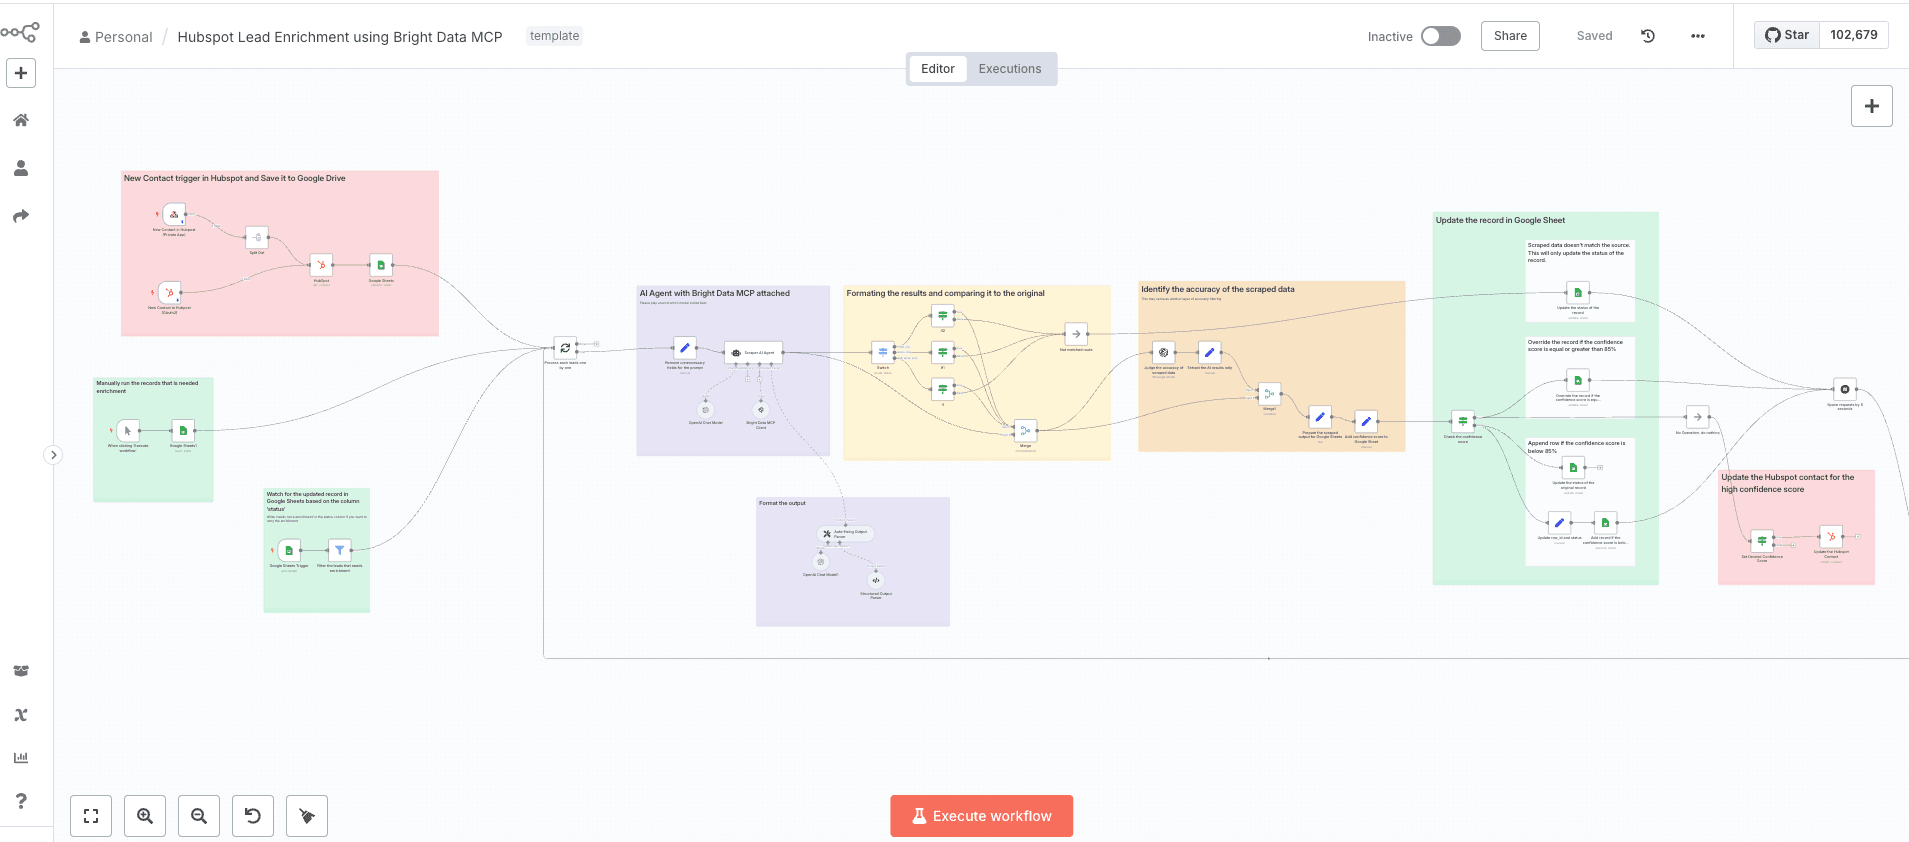
This template enables natural-language-driven automation using Bright Data’s MCP tools, triggered directly by new leads in HubSpot. It dynamically extracts and executes the right tool based on lead context—powered by AI and configurable in N8N.
❓ What Problem Does This Solve?
Manual lead enrichment is slow, inconsistent, and drains valuable time. This solution automates the process using a no-code workflow that connects HubSpot, Bright Data MCP, and an AI agent—without requiring scripts or technical skills. Perfect for marketing, sales, and RevOps teams.
🧰 Prerequisites
To use this template, you’ll need:
- A self-hosted or cloud instance of N8N
- A Bright Data MCP API token
- A valid OpenAI API key (or compatible AI model)
- A HubSpot account
- Either a Private App token or OAuth credentials for HubSpot
- Basic familiarity with N8N workflows
⚙️ Setup Instructions
1. Set Up Authentication in HubSpot
🔐 Option 1: Use a Private App Token (Simple Setup)
- Log in to your HubSpot account.
- Navigate to Settings → Integrations → Private Apps.
- Create a new Private App with the following scopes:
crm.objects.contacts.readcrm.objects.contacts.writecrm.schemas.contacts.readcrm.objects.companies.read(optional)
- Copy the Access Token.
- In N8N, create a credential for HubSpot App Token and paste the app token in the field.
- Go back to Hubspot Private App settings to setup a webhook.
- Copy the url in your workflow’s Webhook node and paste it here.
🔁 Option 2: Use OAuth (Advanced + Secure)
- In HubSpot, go to Settings → Integrations → Apps → Create App.
- Set your Redirect URL to match your N8N OAuth2 redirect path.
- Choose scopes like:
crm.objects.companies.readcrm.objects.contacts.readcrm.objects.deals.readcrm.schemas.companies.readcrm.schemas.contacts.readcrm.schemas.deals.readcrm.objects.contacts.write(conditionally required)
- Note the Client ID and Client Secret.
- Copy the App ID and the developer API key
- In N8N, create a credential for HubSpot Developer API and paste those info from previous step.
- Attach these credentials to the HubSpot node in N8N.
2. Setup and obtain API token and other necessary information from Bright Data
In your Bright Data account, obtain the following information:
- API token
- Web Unlocker zone name (optional)
- Browser API username and password string separated by colon (optional)
3. Host SSE server from STDIO command
The methods below will allow you to receive SSE (Server-Sent Events) from Bright Data MCP via a local Supergateway or Smithery
Method 1: Run Supergateway in a separate web service (Recommended)
This method will work for both cloud version and self-hosted N8N.
Signup to any cloud services of your choice (DigitalOcean, Heroku, Hetzner, Render, etc.).
For NPM based installation:
- Create a new web service.
- Choose Node.js as runtime environment and setup a custom server without repository.
- In your server’s settings to define environment variables or .env file, add:
API_TOKEN=your_brightdata_api_token WEB_UNLOCKER_ZONE=optional_zone_name BROWSER_AUTH=optional_browser_auth - Paste the following text as a start command:
npx -y supergateway --stdio "npx -y @brightdata/mcp" --port 8000 --baseUrl http://localhost:8000 --ssePath /sse --messagePath /message - Deploy it and copy the web server URL, then append
/sseinto it. - Your SSE server should now be accessible at:
https://your_server_url/sse
For Docker based installation:
- Create a new web service.
- Choose Docker as the runtime environment.
- Set up your Docker environment by pulling the necessary images or creating a custom Dockerfile.
- In your server’s settings to define environment variables or .env file, add:
API_TOKEN=your_brightdata_api_token
WEB_UNLOCKER_ZONE=optional_zone_name
BROWSER_ZONE=optional_browser_zone_name
– Use the following Docker command to run Supergateway:docker run -it --rm -p 8000:8000 supercorp/supergateway \ --stdio "npx -y @brightdata/mcp /" \ --port 8000 - Deploy it and copy the web server URL, then append
/sseinto it. - Your SSE server should now be accessible at:
https://your_server_url/sse
For more installation guides, please refer to https://github.com/supercorp-ai/supergateway.git.
Method 2: Run Supergateway in the same web service as the N8N instance
This method will only work for self-hosted N8N.
a. Set Required Environment Variables
In your server’s settings to define environment variables or .env file, add:
API_TOKEN=your_brightdata_api_token
WEB_UNLOCKER_ZONE=optional_zone_name
BROWSER_ZONE=optional_browser_zone_name
b. Run Supergateway in Background
npx -y supergateway --stdio "npx -y @brightdata/mcp" --port 8000 --baseUrl http://localhost:8000 --ssePath /sse --messagePath /message
Use the command above to execute it through the cloud shell or set it as a pre-deploy command.
Your SSE server should now be accessible at:
http://localhost:8000/sse
For more installation guides, please refer to https://github.com/supercorp-ai/supergateway.git.
Method 3: Configure via Smithery.ai (Easiest)
If you don’t want additional setup and want to test it right away, follow these instructions:
Visit https://smithery.ai/server/@luminati-io/brightdata-mcp/tools to:
- Signup (if you are new to Smithery)
- Create an API key
- Define environment variables via a profile
- Retrieve your SSE server HTTP URL
4. Connect Google Sheets to N8N
-
Ensure your Google Sheet:
- Contains columns like
row_id,first_name,last_name,email, andstatus. - Is shared with your N8N service account (or connected via OAuth)
- Contains columns like
-
In N8N:
- Add a Google Sheets Trigger node
- Set it to watch for new rows in your lead sheet
5. Import and Configure the N8N Workflow
- Import the provided JSON workflow into N8N
- Update nodes with your credentials:
- Hubspot: Add your API key or connect it via OAuth.
- Google Sheets Trigger: Link to your actual sheet
- OpenAI Node: Add your API key
- Bright Data Tool Execution: Add Bright Data token and SSE URL
🔄 How It Works
- New contact in Hubspot or a new row is added to the Google Sheet
- N8N triggers the workflow
- AI agent classifies the task (e.g., “Find LinkedIn”, “Get company info”)
- The relevant MCP tool is called
- Results are appended back to the sheet or routed to another destination
- Rerun the specific record by specifying status “needs more enrichment”, or leaving it blank.
🧩 Use Cases
- B2B Lead Enrichment – Add missing fields (title, domain, social profiles)
- Email Intelligence – Validate and enrich based on email
- Market Research – Pull company or contact data on demand
- CRM Auto-fill – Push enriched leads to tools like HubSpot or Salesforce
🛠️ Customization
- Prompt Tuning – Adjust how the AI interprets input data
- Column Mapping – Customize which fields to pull from the sheet
- Tool Logic – Add retries, fallback tools, or confidence-based routing
- Destination Output – Integrate with CRMs, Slack, or webhook endpoints
✅ Summary
This template turns a Google Sheet into an AI-powered lead enrichment engine. By combining Bright Data’s tools with a natural language AI agent, your team can automate repetitive tasks and scale lead ops—without writing code.
Just add a row, and let the workflow do the rest.


